


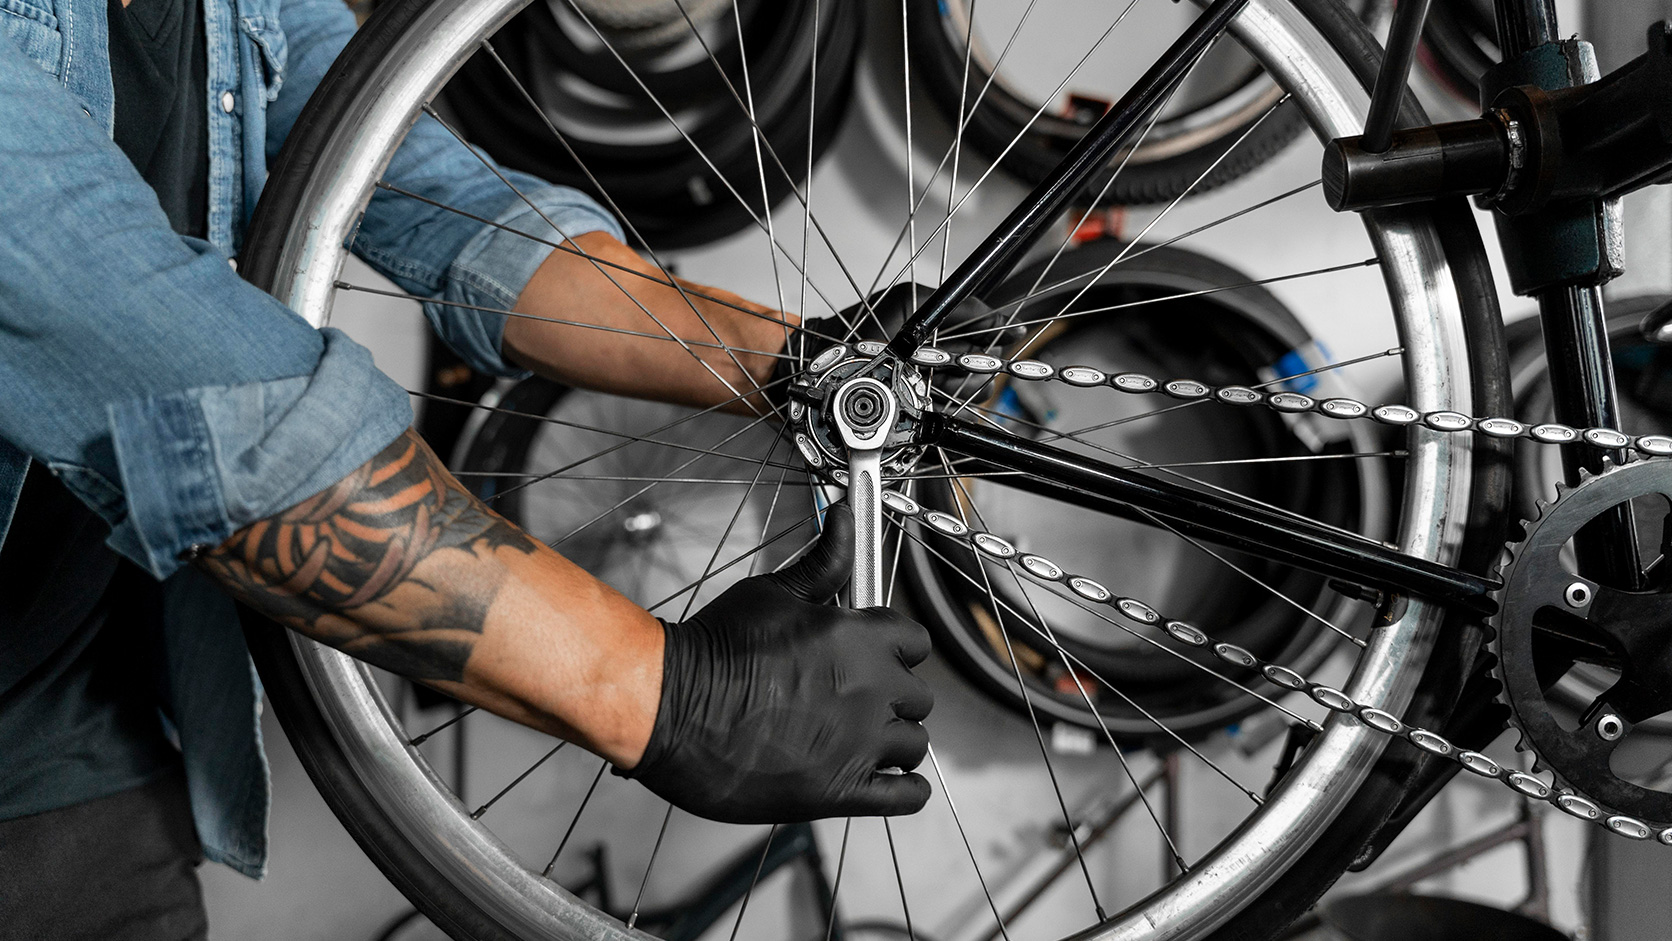
Stem, lever and seatpost clamp bolts usually require a torque of just a few newton metres. When installing a cassette, pedals or a Center Lock lockring, values can rise to several tens of newton metres. The exact torque is specified by the manufacturer of the component and is given on the part itself or in the technical documentation.
Such a large difference means that a wrench designed for car wheels usually has too high a range for working on a bicycle cockpit. For basic servicing, what you need above all is a bike torque wrench with a low minimum setting, an easy-to-read scale and bits that fit hex (Allen) and Torx bolts. More extensive work may require a second tool that covers higher values.
What is a bike torque wrench?
A torque wrench lets you tighten a bolt to the torque specified by the component manufacturer. Torque is given in newton metres, abbreviated as Nm.
As a bolt is tightened, it stretches and generates a force that clamps the joined parts together. Too little torque can leave play, allow parts to shift and accelerate wear. Too much torque increases the risk of stripping the thread, deforming a clamp or damaging a lightweight component.
With a mechanical click-type wrench, reaching the set torque is signalled by a noticeable release of the mechanism and a distinctive click. At that point the user should stop tightening, because continuing to push the handle can increase the torque applied to the bolt, which may ultimately damage it.
An electronic bike torque wrench shows the rising value on a display and can signal that the target is approaching with a sound, LEDs on the housing or vibration. How it works depends on the design of the specific model.
Do you need a torque wrench for your bike?
How important torque control is depends on the type of joint, the component material and the manufacturer's recommendations. Thin-walled aluminium parts, lightweight clamps and carbon composite components require particular precision.
A torque wrench is also useful on bikes with a steel frame. The frame material does not determine the requirements for every bolt. The stem, handlebar, brake levers, seatpost clamp, crank and brake system components may have their own torque limits, regardless of what the frame is made of.
The tool is especially necessary when fitting new parts yourself, adjusting the cockpit, replacing the seatpost or servicing the drivetrain and brakes. It lets you reproduce the value given in the documentation instead of relying solely on the feel of the user or mechanic.
What is a torque wrench used for on a bike?
On bicycles, a torque wrench is used mainly on joints responsible for steering, braking, rider position and transferring drivetrain loads.
This group includes the bolts on the stem, handlebar, shifters/brake levers, seatpost clamp and saddle clamp. Brake calipers, rotors, derailleur mounts, the crank, pedals, cassette and selected bottom bracket components also require torque control.
Full-suspension bikes add swingarm and suspension linkage joints. Their values depend on the design of the specific frame. The manufacturer may specify a separate torque for each axle, bolt or bushing.
For accessories such as a bottle cage, rack or mudguard, you should also check the markings on the part and the bike's manual. In a lightweight frame, even a small bolt may thread into a boss or insert that requires limited torque.
Which bike torque wrench should you choose?
The first criterion is the working range. It should cover the values used for the jobs you do most often. The cockpit, seatpost, brakes and derailleurs require a low range. The cassette, pedals and some bottom bracket components need a tool designed for higher torque.
The range on the scale should not be treated as the only parameter. When buying, also check the stated accuracy, drive size, direction of measurement, type of bits included and whether the wrench can be periodically calibrated.
Working range
For basic bike work, people often choose wrenches whose scale starts at around 1–2 Nm and goes up to somewhere in the teens or about 20 Nm. This range covers many joints on the stem, handlebar, levers, seatpost and brakes.
A higher range, up to about 50–60 Nm, is needed for components requiring several tens of newton metres. These include certain cassettes, pedals, Center Lock lockrings and bottom bracket parts.
The required value should fall within the tool's working range. Regularly working very close to the lower or upper end of the scale can make accurate setting and reading more difficult.
Accuracy and documentation
The manufacturer should state the wrench's declared accuracy and the range to which this parameter applies. Documentation for the individual unit is also useful.
A calibration certificate contains the results of measurements made on that particular tool and confirms that the wrench has passed quality control and works correctly. For occasional home servicing, extensive documentation may matter less than in a professional workshop, but the user should still know the product's declared specifications.
You can compare the available types and ranges of torque wrenches before choosing a specific tool.
Drive size and bits
For the low torques used on bikes, a 1/4-inch drive is convenient. A small head makes it easier to reach bolts on the stem, levers, shifters and brake calipers.
Bicycles mostly use hex (Allen) and Torx bolt heads. The set should include bits that match the bike's actual components. A worn, ill-fitting or insufficiently seated bit can damage the bolt head even if the torque has been set correctly.
Higher values call for larger drives, for example 3/8 inch. Using adapters makes the setup bulkier and can make it harder to reach the joint.
Measuring in both directions
Most bicycle bolts are tightened clockwise. However, bikes also have left-hand threads. The classic example is the left pedal. Left-hand threads can also appear in certain bottom bracket systems.
Before buying, check whether the wrench measures torque in both directions. Being able to reverse the ratchet does not mean you can take a controlled measurement when tightening a left-hand thread, and bear in mind that the vast majority of mechanical torque wrenches work only clockwise.
Which torque wrench for MTB, road and gravel bikes?
The type of bike matters less than the component materials and the scope of the planned work. The stem, handlebar, levers, seatpost and brake calipers on MTB, road and gravel bikes usually use low torque values.
Road and gravel bikes often use lightweight carbon components and integrated cockpits. A compact head and an accurate scale at the lower end of the range make working on these parts easier.
An MTB may have additional suspension joints, pivot axles and shock mounts. The values for these parts come from the frame manufacturer's manual. A home mechanic servicing a full-suspension bike should check whether the wrench's range also covers the swingarm bolts.
The bike torque wrenches category includes low-range tools with small heads, designed for work on the cockpit, seatpost, brakes and other bicycle components.
Torque wrenches and carbon bikes
Carbon composite components are light and stiff, but they require controlled clamping. Excessive force applied at a single point can damage the laminate structure and cause cracking or delamination.
The risk applies, among other places, to the stem clamp, seatpost clamp and saddle clamp. Damage can occur during assembly and may initially be invisible.
Manufacturers mark the maximum torque on the component or give it in the manual. The value applies to a specific joint and should be used together with the recommendations on surface preparation, thread lubrication and use of assembly paste.
Carbon assembly paste is applied to the contact surfaces specified by the manufacturer, for example between the seatpost and the seat tube. Its purpose is to increase friction between the parts. It does not replace torque control and should not be applied to threads unless the component's instructions say so.
What torque values are used on a bike?
Values depend on the manufacturer, model, material, bolt diameter and joint design. The table shows a rough order of magnitude, not ready-to-use assembly data.
|
Area of the bike |
Approximate order of magnitude |
Source of the correct value |
|
Stem, handlebar, levers and seatpost clamp |
a few Nm |
marking on the component or manufacturer's instructions |
|
Brake rotors and calipers |
a few to about fifteen Nm |
instructions for the specific brake system |
|
Derailleurs and cable anchors |
a few Nm |
drivetrain manufacturer's documentation |
|
Crank and selected bottom bracket components |
from over ten to several tens of Nm |
instructions for the specific crankset |
|
Cassette, pedals and Center Lock lockrings |
several tens of Nm |
documentation for the specific system |
The value given for the specific component is always the one that applies. Similar-looking bolts on two different stem models may have different torque limits.
How to use a torque wrench on a bike correctly
Setting the correct value on the scale is not enough on its own. The result is also affected by the condition of the thread, how the joint is prepared, the choice of bit and how the tool is handled. That is why a few steps need to be completed before you start:
- Read the torque value from the component or the manufacturer's instructions.
- Check the condition of the bolt, thread, washers and contact surfaces.
- Apply grease, threadlocker or assembly paste as specified in the part's documentation.
- Choose the correct bit and seat it fully in the bolt head.
- Set the value on the scale and lock the setting if the wrench has this feature.
- Hold the tool where the manufacturer specifies, usually in the middle of the handle.
- Tighten with a smooth motion, without jerking or putting side load on the head.
- Stop immediately when the mechanism signals.
- For multi-bolt joints, increase torque gradually and follow the sequence given in the instructions.
With a stem clamp, you also need to check the position of the part and that the gaps are even. Correct torque will not make up for incorrect assembly or poorly positioned parts.
The most common mistakes when using a torque wrench
One of the most common mistakes is continuing to tighten the bolt after the click. The mechanism signals that the setting has been reached, but it does not completely stop more force from being transmitted.
Another mistake is using a torque wrench to loosen seized bolts. The high force needed to break a bolt free can overload the measuring mechanism. Use a regular wrench or ratchet for loosening.
Problems are also caused by random values found online, working outside the declared range, jerking the handle and improper thread preparation. Lubrication changes the friction in the joint, so the manufacturer's instructions should determine whether the thread is to be dry, greased or secured with threadlocker.
The wrench also needs to be checked after being dropped or overloaded, or if you notice a lack of repeatability. The absence of visible damage does not confirm that the mechanism reads correctly.
Is one torque wrench enough for bike servicing?
One low-range wrench is enough for many basic jobs on the cockpit, seatpost, brakes and derailleurs. Models covering values from a few to around fifteen newton metres match the most common adjustments.
The cassette, pedals, Center Lock and some bottom bracket components use higher torque. To work on them, you need a second wrench with a range reaching several tens of newton metres.
The best way to start buying your first tool is to write down the values used on your bike. The markings on the stem, seatpost, calipers and other components will show which range you will use most often. A ranking of bike torque wrenches can help you find models available on the market, but it will not replace comparing range, accuracy and head size.
Do torque wrenches need to be calibrated?
In workshop language, "calibrating a wrench" often covers both checking its readings and adjusting it if needed. More precisely, a distinction should be made between calibration and adjustment.
Calibration involves comparing the wrench's release torque with a reference value and documenting the result. Adjustment is a regulation of the mechanism carried out when the readings fall outside the accepted tolerance.
How often it should be checked depends on the manufacturer's instructions, how intensively it is used and how critical the joints are. A wrench used occasionally at home works under different conditions than a workshop tool performing many cycles a day. The ISO 6789:2017 standard specifies that every torque wrench should be calibrated every 12 months or every 5,000 cycles (in simple terms, every 5,000 clicks/releases of the wrench mechanism).
An earlier check is needed after the wrench has been dropped or overloaded, or if you notice a change in how it works. A consistent click may still occur even if the actual release torque has shifted.
Traditional spring-type wrenches are usually stored with the setting wound back to the lowest value on the scale. Torque wrenches with a torsion-bar mechanism do not need to be released after use, e.g. Stahlwille - https://torqueshop.eu/standard-manoskop-torque-wrench-730n-2-1-4-with-range-4-20-n-m-with-ratchet
Which bike torque wrench should you choose to start with?
Your first wrench should handle the most frequent jobs: the stem, handlebar, levers, seatpost, saddle and brake calipers. A practical choice is a model with a low minimum setting, a compact 1/4-inch drive and a set of hex (Allen) and Torx bits.
A second wrench becomes necessary when your home servicing includes the cassette, pedals, Center Lock, crank or bottom bracket components. The tool should be chosen for the scope of work, not just the type of bike.
Before every tightening, read the value from the component or the instructions. The right wrench range, proper preparation of the joint and a smooth technique together make for a controlled assembly process.
FAQ
Which torque wrench should I buy first?
For basic servicing, the best choice is a low-range wrench with a compact head and a 1/4-inch drive. It should cover the torque values used on the stem, handlebar, levers, seatpost and brakes.
Can you loosen bolts with a torque wrench?
To loosen bolts, especially seized ones, use a regular wrench or ratchet. A torque wrench is intended primarily for controlled tightening. Information on whether the tool may be used in the reverse direction is provided by its manufacturer. But even if the wrench works counterclockwise (CCW), using a torque wrench to loosen bolts is not recommended.
Do you need to wind a torque wrench back after use?
Wrenches with a spring-type setting mechanism are usually stored with the setting wound back to the lowest value on the scale. Torque wrenches with a torsion-bar mechanism do not need to be released after use. The instructions for the specific model are what counts.
Where should carbon assembly paste be applied?
The paste is applied to the contact surfaces specified by the manufacturer, for example between the seatpost and the seat tube. It should not be applied to threads unless the component manufacturer explicitly recommends it.
Which pedal has a left-hand thread?
The left pedal has a left-hand thread, and the right pedal has a right-hand thread. A wrench used for the controlled installation of the left pedal must also measure torque when working in the counterclockwise direction.